

How to Set Up a Budget-friendly Home Studio for Voice Acting
- Darren Robertson
- Jan 9, 2025
- 2 min read
"A well-set-up home studio can make all the difference. You don’t need fancy gear to sound professional, but you do need to treat your space properly and learn how to use what you have. Even a modest setup can produce studio-quality recordings if the basics are done right."
Mike DelGaudio, Voice Actor and Host of Booth Junkie
So, you’ve decided to dive into the world of voice acting? Great choice! Whether you're looking to voice animated characters, commercials, or audiobooks, one thing is certain: you’ll need a home studio. The good news? You don’t need to break the bank to get started. Here’s how to build a budget-friendly setup that’ll make you sound like a pro.

Step 1: Choose the Right Space
You don’t need a massive room or fancy soundproof booth. A walk-in closet, spare room, or even a corner of your bedroom can work wonders. The key is to find a quiet space with minimal background noise and hard surfaces.
Step 2: Acoustic Treatment
Echo is your enemy. Foam panels, moving blankets, or even thick curtains can help dampen sound. Don’t overthink it – the goal is to reduce reflections and create a clean sound environment.

Step 3: Budget-Friendly Home Studio Microphones
Your microphone is the heart of your studio. Affordable options like the Audio-Technica AT2020 or Rode NT1-A deliver great quality for a beginner-friendly price. Avoid USB mics if you’re serious about voice acting, they’re frowned upon in professional studios due to their limited quality and flexibility. Pair your mic with a simple stand and a pop filter to keep those pesky plosives in check.
Step 4: Audio Interface
Since you’re not using a USB mic, an audio interface like the Focusrite Scarlett 2i2 will give you excellent sound quality and connect your mic to your computer. It’s reliable, affordable, and easy to use. If you're looking for something that gives you a few more options when it's time to expand, check out the Rodecaster Pro II. At the other end of the scale, Rode also has the Ai-1, a great little interface that doesn't cost the earth.

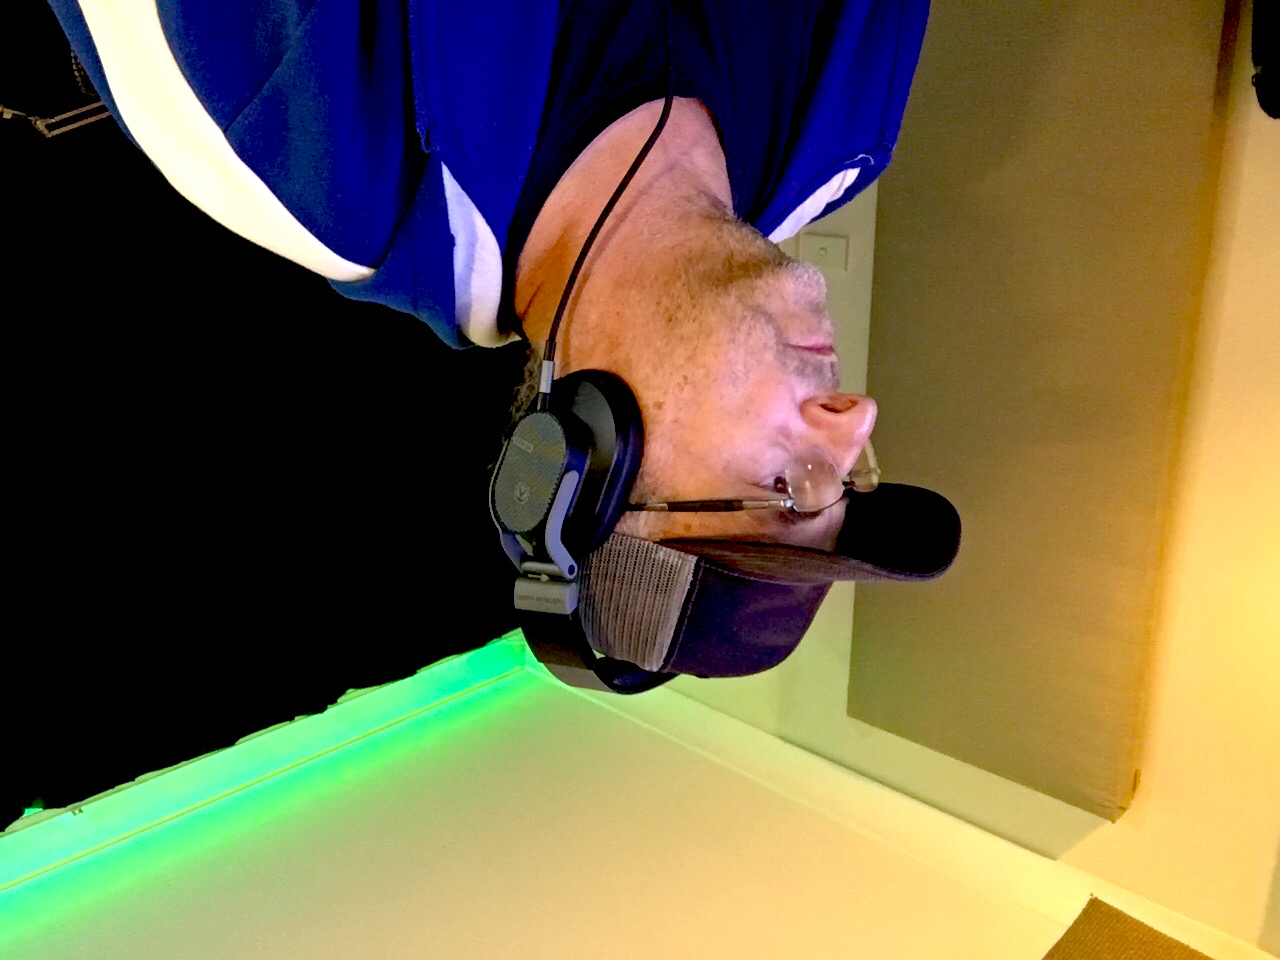
Step 5: Headphones
Studio headphones are a must for monitoring your recordings. Options like the Audio-Technica ATH-M40x or Sennheiser HD280 Pro are comfortable and accurate without costing a fortune. The newest player in the market is Austrian Audio. Their Hi-x 20s are an affordable, well-tuned pair of headphones from the guys who used to work for AKG.
Step 6: Software
Audacity is a fantastic free editing option. If you’re ready to invest, programs like Adobe Audition or Reaper provide advanced tools for audio cleanup and production. Another popular DAW for voice actors is Twisted Wave. It's simple to use but packed with powerful features.

Step 7: Keep It Simple
Don’t get caught up in buying every gadget under the sun. Start small, learn the ropes, and upgrade as you grow. Focus on recording clean audio and delivering your best performance.
Conclusion
Setting up a home studio doesn’t need to cost a fortune. With a little creativity and smart shopping, you can build a space that’ll help you land gigs and grow your career. Now, get recording!


Comments